

Dedicated to the Promotion and Preservation of American Muscle Cars, Dealer built Supercars and COPO cars. |
|
|||||||
| Register | Album Gallery | Thread Gallery | FAQ | Community | Calendar | Become a Paid Member | Today's Posts | Search |

|
|
|
Thread Tools | Display Modes |
|
#21
|
||||
|
||||
|
The mounting plate appears to be the LH one installed on the RH side? The notch for the parking brake cable hanger should face the front.
__________________
Rob 1969 Camaro Z/28. Norwood 02D. Lemans Blue |
| The Following User Says Thank You to rlw68 For This Useful Post: | ||
NorCam (03-25-2019) | ||
|
#22
|
||||
|
||||
|
Good eye Rob. I didn't notice they were backwards until I did the brakes earlier tonight and went to go put the brackets on. Guess what I'm doing tomorrow.

__________________
I like solid lifter cars, big cams and cars w/ 3 pedals in them. 
|
|
#23
|
||||
|
||||
|
Couldn't leave those plates until tomorrow as I already have a full plan for the day, so I went back out to the shop and reversed them tonight. Also need to order some new drums which will finish off the brakes before I start plumbing hard lines through the front. Getting there (even with the odd two step)
 And sorry Ryan. This one will be more or less stock...so no Pistola  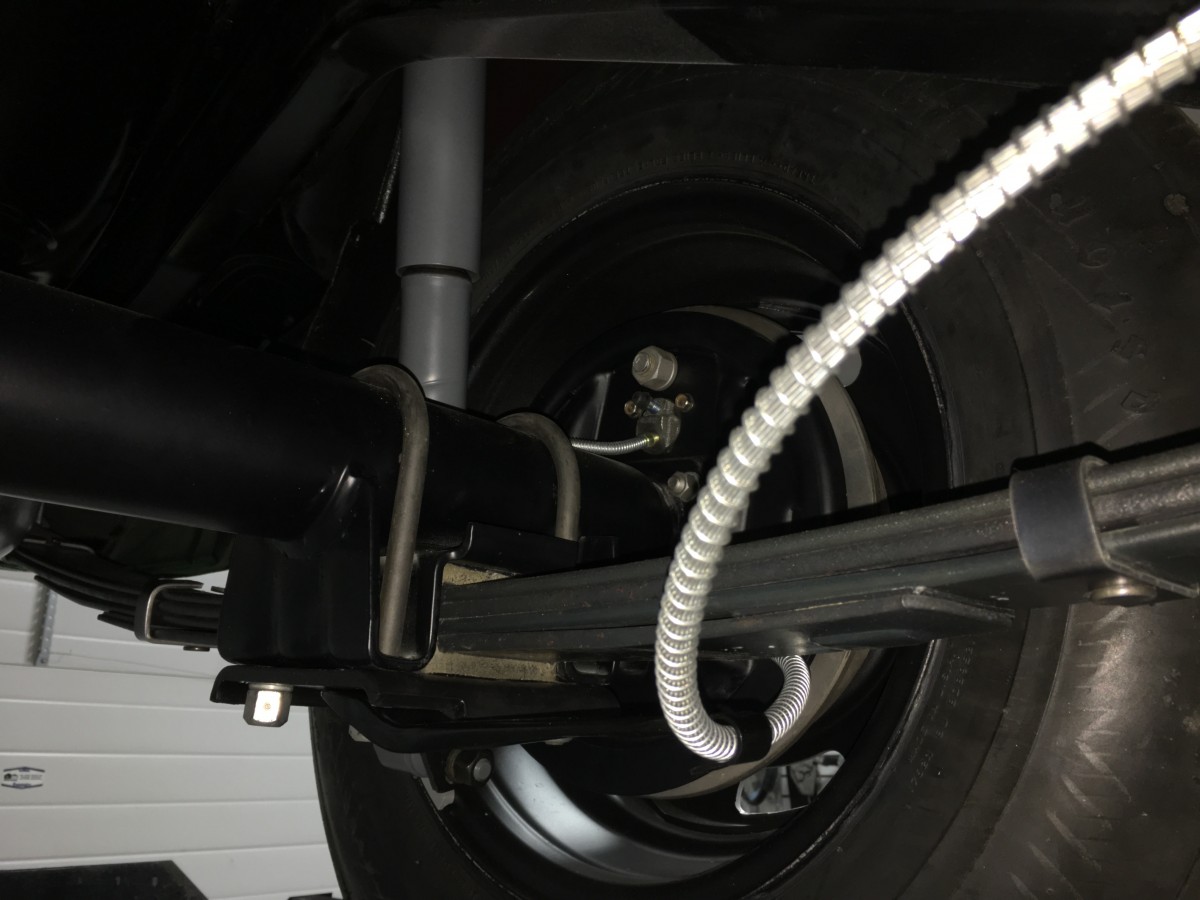
__________________
I like solid lifter cars, big cams and cars w/ 3 pedals in them. 
Last edited by NorCam; 03-25-2019 at 05:46 AM. |
|
#24
|
||||
|
||||
|
Quote:
On the axle I used t-bolts on the inner and u-bolts on the outer, without washers. My 69 is an 02D build. Do you know which is correct?
__________________
Rob 1969 Camaro Z/28. Norwood 02D. Lemans Blue |
| The Following User Says Thank You to rlw68 For This Useful Post: | ||
NorCam (03-26-2019) | ||
|
#25
|
||||
|
||||
|
I've seen them staggered the way you mentioned, and I've seen them using both u-bolts on the inner and outer. I'm sure there is a factory correct method and would think it is as you mentioned, but I am OK with using 2 sets of full u-bolts. My thinking is perhaps it's stronger?
Lift is an inexpensive 4 post model, but saves me from crawling around under cars. It's awkward for doing things like dropping suspension and diff swaps but it has a H/D sliding steel jack tray that helps support the car when hanging suspension or doing brakes. It works but one of these days I'll bend to get a nice 2 post lift as well.
__________________
I like solid lifter cars, big cams and cars w/ 3 pedals in them. 
|
|
#27
|
|||
|
|||
|
Graeme, on the topic of lifts, it doesn't appear your 4 post is bolted down. I know it's not necessary, but do you have any concerns with it being able to move? The horizontal supports likely negate any real risk?
Do you store cars on it in the lifted position? I have a "Kwik-Lift" at home, and I've never really figured out the right combination of bottle jack and stands to use the sliding steel tray. It doesn't line up with the jack points or subframe connectors on my Formula. |
|
#28
|
||||
|
||||
|
I've had it bolted before and that was great in my old shop, but in the current home shop I like being able to move it around from time to time and it's been inside, outside and back and forth between shops. I don't do much serious work while it's up high and always keep the locks set right with a little tension on the cables which keeps it steady. My floors are also quite level and the pads have never moved. Even still I am very careful and always walk around the lift to ensure all is sound and locks are on before ever venturing under a car while also ensuring the cables are taught. Safety is always of concern around my place and even when using jack stands, there is always redundancy in place.
If I was really going to be reefing or swaying the lift, I'd again add a couple Hilti anchors at each corner. I am told that they use dozens these lifts on the grass at Carlisle and change exhaust on Corvettes. I was further told that as long as there's weight on the cables, they are quite stable. I use this one for work only and don't store cars on it at height too often, but have at times used it for storage. In terms of the 1/4" steel jack tray, I sometimes use a center point motorcycle jack that I bought for the tray, and when I need to support outer axle points or spring locations, I have a 1/4 steel plate that sits atop the jack tray to give me a stable base to use a bottle jack from...or to place jack stands. You have to be creative to use a 4 post for working on cars as it would seem. That's why I plan to add a two post lift in the next bay over. A guy can never have too many lifts I am told. 
__________________
I like solid lifter cars, big cams and cars w/ 3 pedals in them. 
|
| The Following User Says Thank You to NorCam For This Useful Post: | ||
DW31S (03-25-2019) | ||
|
#29
|
||||
|
||||
|
Thanks David
 Glass really did fit well, but it should of since this car still has it original body panels intact. Most problems start when quarters, roofs and tulip panels have been repaired and the car isn't as square as it may have once been. Got a lot more accomplished today and we're boogieing right along now. Leaving a few character parts in place and trying not to over cartoon the car with ink stamps and chalk everywhere. I see so many restored cars now days that are just plastered with stamps, decals and chalk marks everywhere and to me it just looks wrong! Only a few decals and a couple markings is all this car will be seeing. Brake lines are in and tomorrow we'll hit the front lighting, grill and then the wiring harnesses will go in. We'll probably spend a good week doing the engine bay and getting the brakes bled before we start thinking about the drive line. I will get it fired on the run stand again next week before we're ready to install it. From there we will focus on the interior and making it look like a super clean 22,000 mile survivor inside. Just wish I had a mint used carpet to match everything else I have put together. More in a week or two. 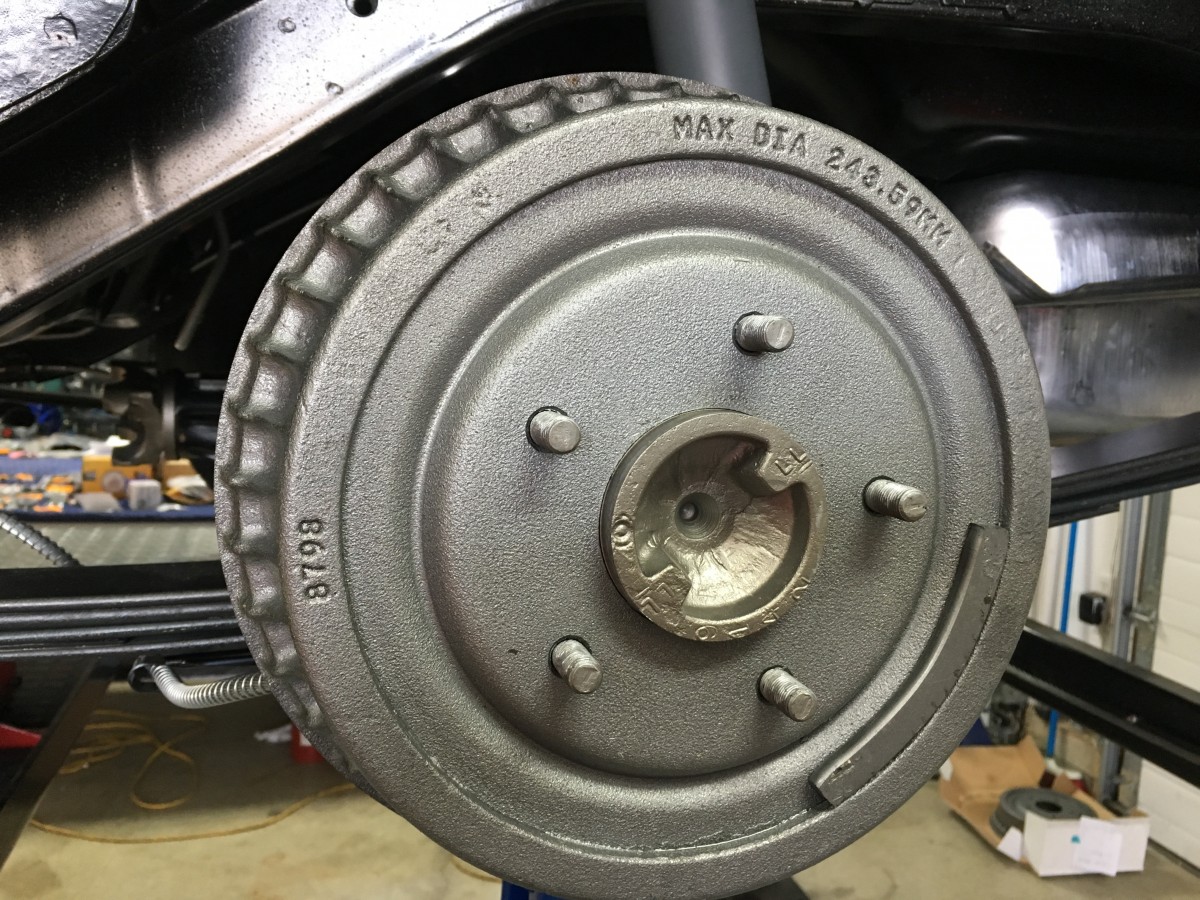 Finished the brakes today and installed some new drums to help it stop.  Ran the remaining brake lines today and almost ready for the master. 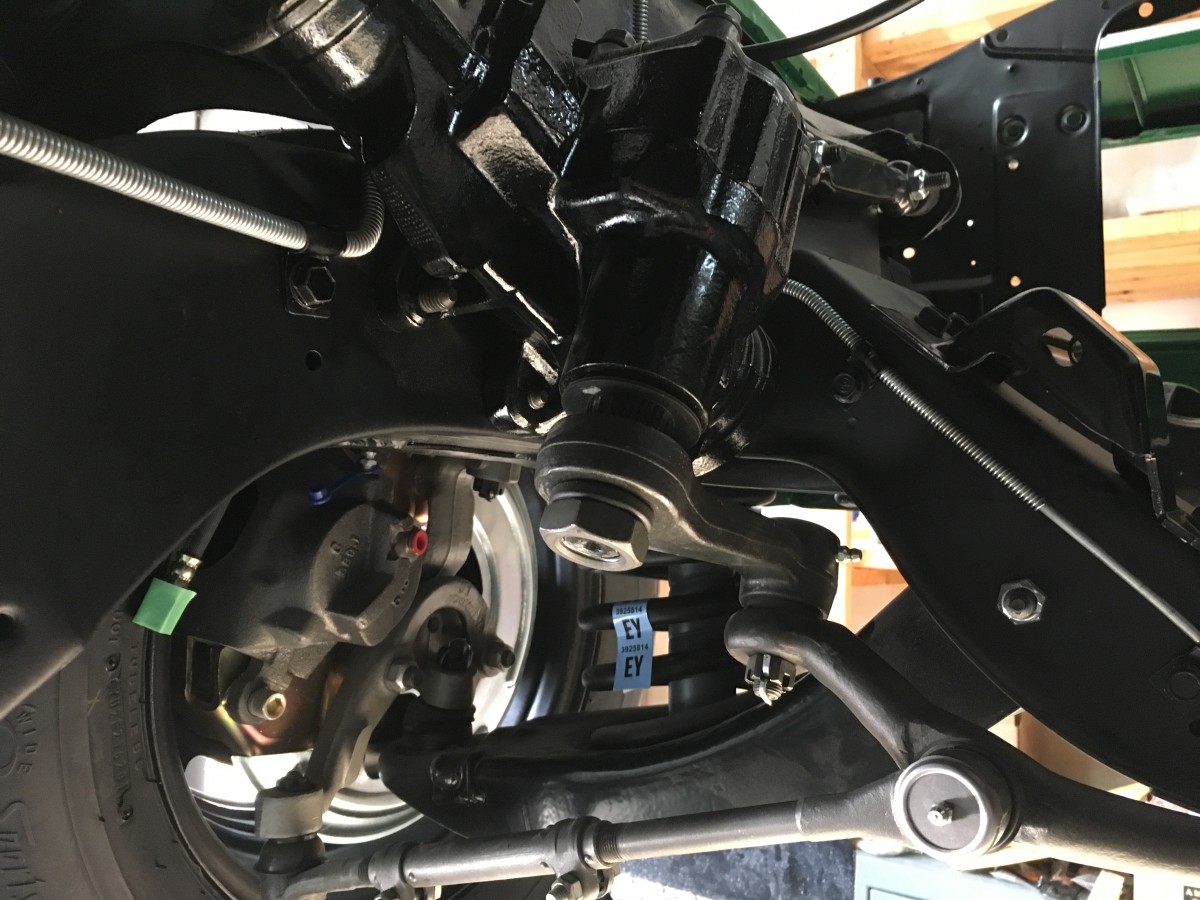 Added a couple decals to the front shocks and springs. (not going to go too crazy with all the markings) 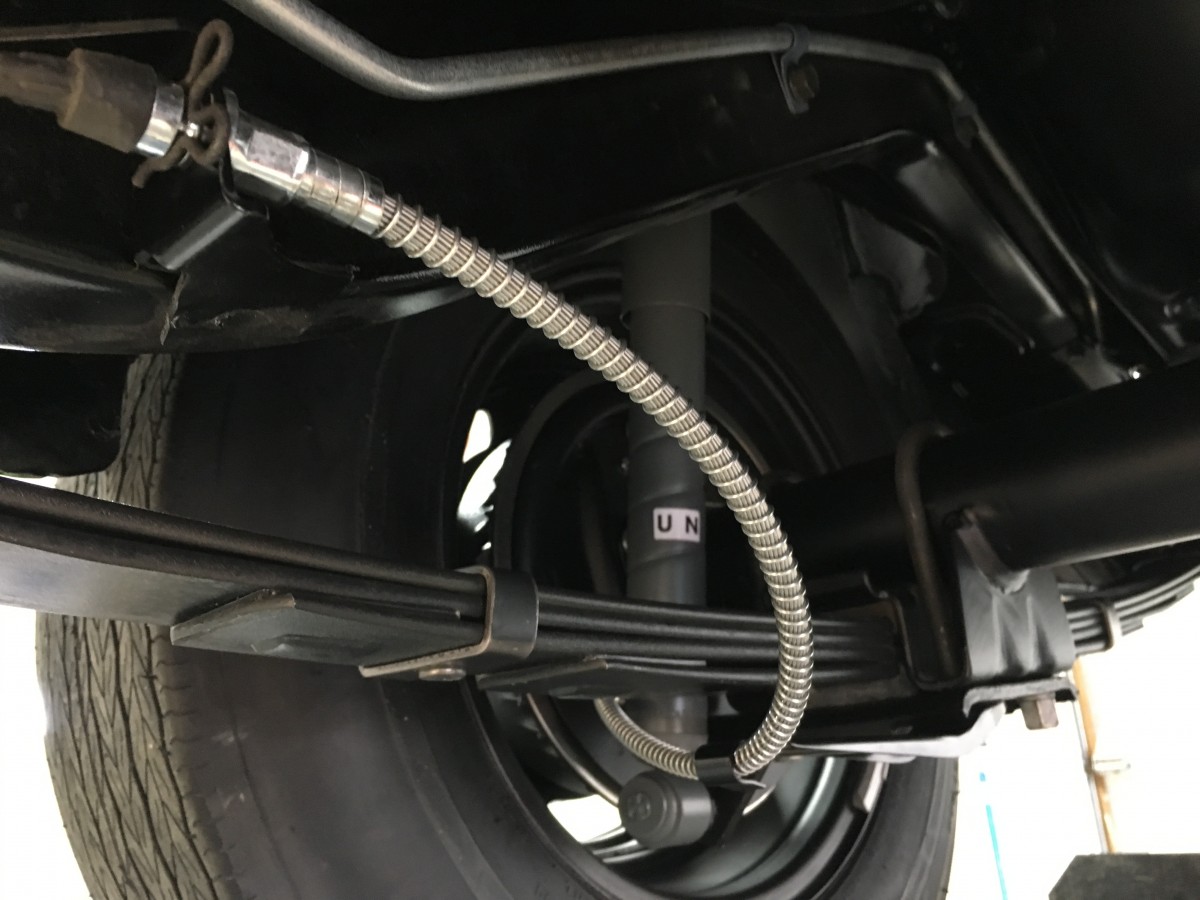 Added new e-brake cables throughout the car today. 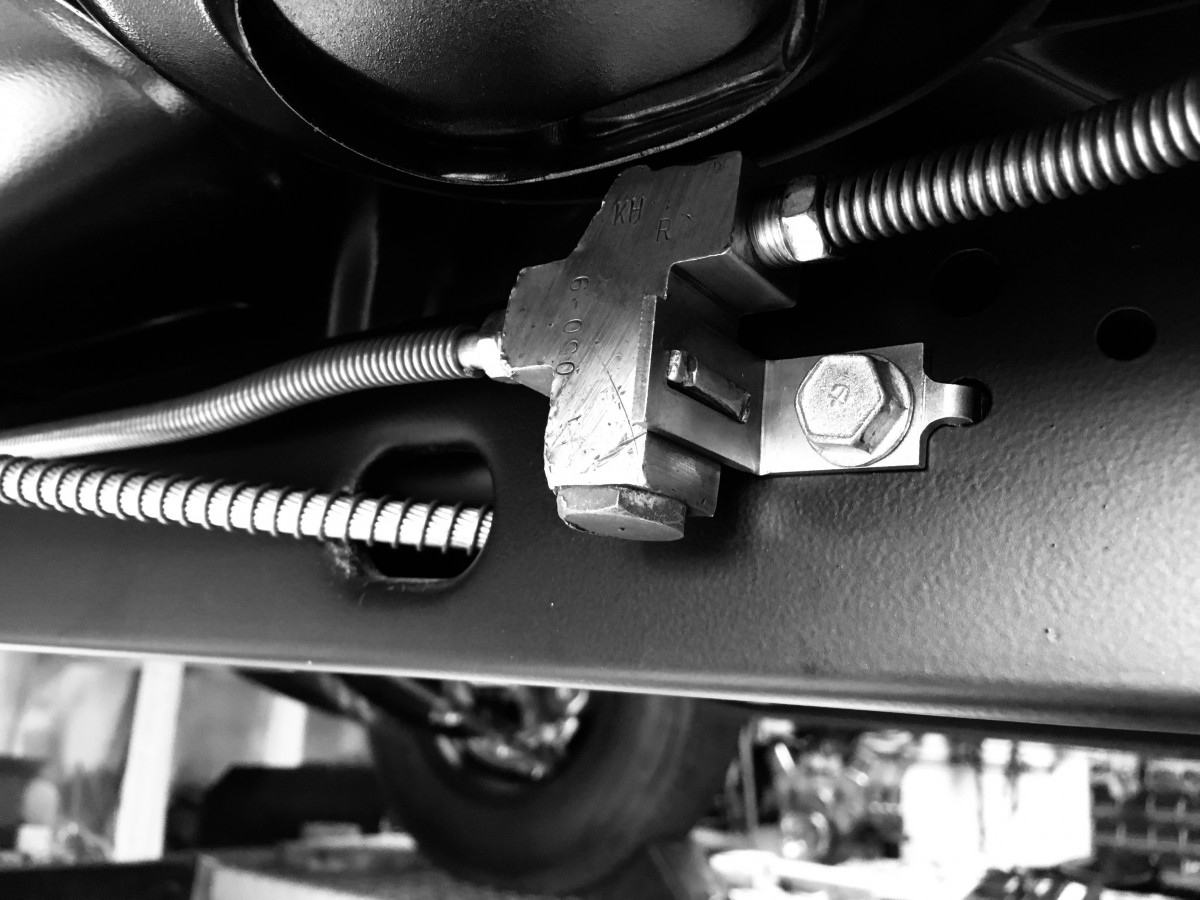 There were a few nicks and character marks in the rear hold off, and I'm going to leave it that way.
__________________
I like solid lifter cars, big cams and cars w/ 3 pedals in them. 
Last edited by NorCam; 03-26-2019 at 02:14 PM. |
|
#30
|
||||
|
||||
|
A pair of T-bolts (inboard) and one U-bolt (outboard) per side is how the factory did it on a multi-leaf rear, but it's common to see the T-bolts swapped for a second U-bolt to reduce the tendency for spring perch welds to crack.
__________________
Tim in NSW, Australia 1969 Van Nuys 04A Z/28 from Clippinger Chevrolet. Cortez Silver with dark blue interior. Ran at Lions Dragstrip and Pomona Raceway, with paint by Bob Kovacs of Fresno. Last edited by ZLP955; 03-26-2019 at 10:04 AM. Reason: Clarified for multi-leaf |
| The Following User Says Thank You to ZLP955 For This Useful Post: | ||
NorCam (03-26-2019) | ||
 |
|
|