
Dedicated to the Promotion and Preservation of American Muscle Cars, Dealer built Supercars and COPO cars. |
|
|||||||
| Register | Album Gallery | Thread Gallery | FAQ | Community | Calendar | Become a Paid Member | Today's Posts | Search |


|
|
Thread Tools | Display Modes |
|
#15
 07-08-2021, 03:09 AM
|
||||
|
||||
|
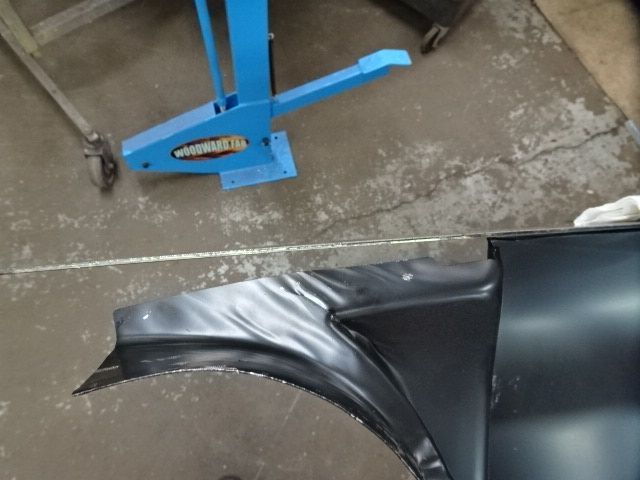
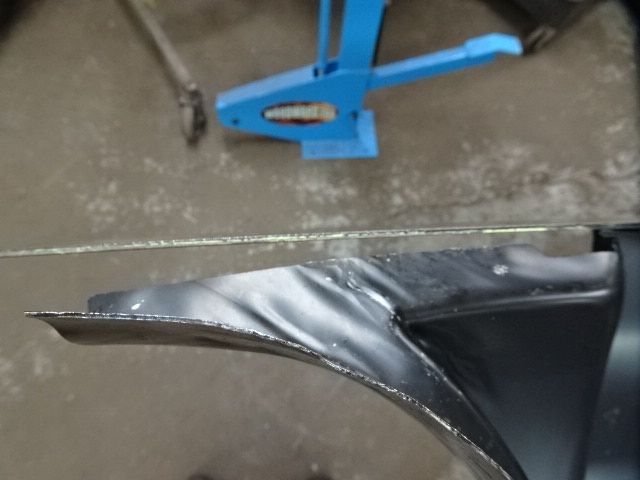
With the holiday and other things distracting me, I haven't made as much progress on this as I would have liked, but it is getting there. The panel has a bit of a fitment issue in the door pillar. The factory put way too much curve in the lowest jam area and I had to try to get some back. The curve is too tight to get the panel in our stretcher jaws, so I beat the snot out of it with hammer on dolly to stretch the metal back out. I got about half of it back and then marked where I would cut a relief slot to get the rest.
   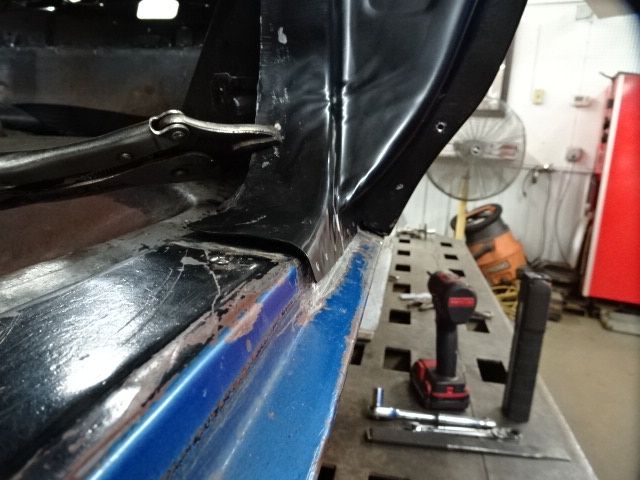 After making the cut and drilling 103 holes to plug weld, I sprayed the bare metal with weld thru primer and was ready to make this panel part of the car.  All clamped and drill screwed in place.   Now the fun starts, figure out a way to weld the bottom to the rocker in the window well area. 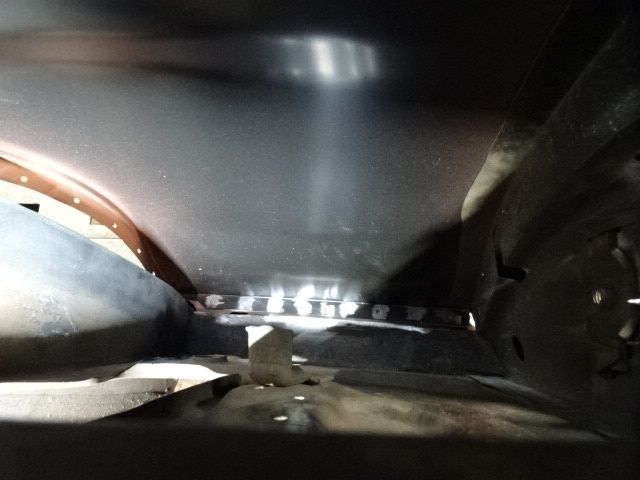 With a few contortionist positions, I got them. Not pretty, but no one will see them. 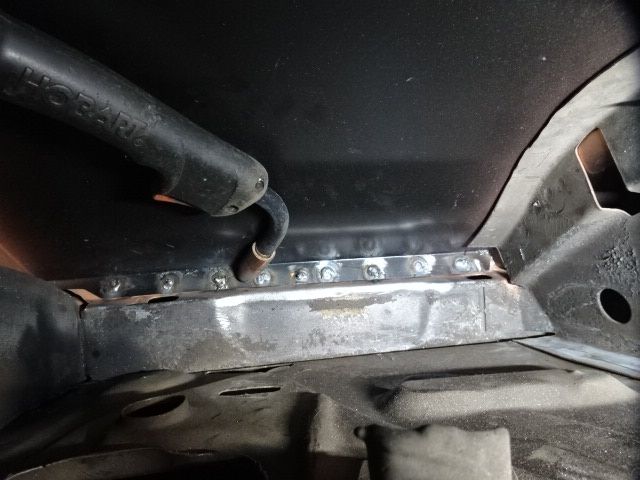 Whole door pillar on and cleaned up. The bottom curve came out really nice. 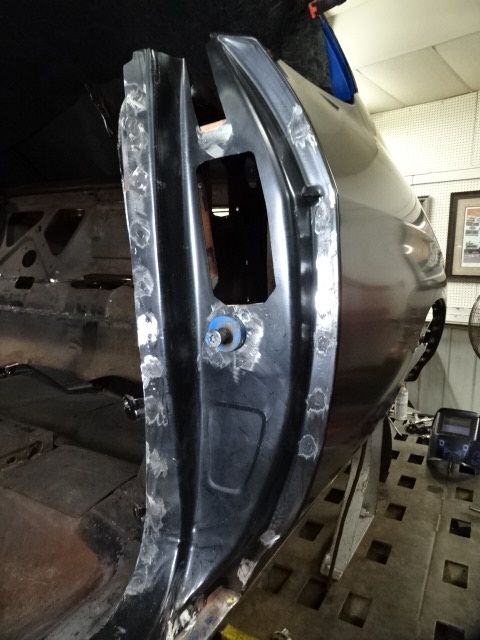   On to the drip rail seam and roof.    That's all for today.
__________________
Mitch 1970 Chevelle SS 1966 Chevelle SS 1967 Camaro ss/rs 1938 Business coupe, street rod 2000 FXSTS, original owner, 13k miles 
|
| The Following 10 Users Say Thank You to Too Many Projects For This Useful Post: | ||
1967Z28 (07-09-2021), big gear head (07-08-2021), Bill Pritchard (07-08-2021), dykstra (07-08-2021), L_e_e (07-08-2021), mhurd (07-08-2021), RPOLS3 (07-08-2021), SuperNovaSS (07-08-2021), Xplantdad (07-08-2021), Zman1969 (08-13-2021) | ||
|
|


 Threaded Mode