Well, let's see. Ancient Aliens is on History HD. Dog is fed. Wife happy doing wife stuff. Let me get out this here web surfin' doohickey thing and see what I can find. Craigslist......1968......hmmm..... This looks interesting. 1968 Mustang.....(click).......Yep, 1968.....fastback.....yadda yadda....390......4-speed.....hmmm....... Highland Green (sound of leather sofa crinkling as body moves to more effect posture). ......8000 RPM tach, convenience group, numbers matching.....(sofa now unoccupied, phone in hand)......8-track radio, original manuals, window sti..."Yes, my name is Dave and I'm calling about the Mustang on craigslist......uh huh...... Uh huh...(sound of car starting). Oh really? Body buck tag still on the core support, huh? Wow ( knock knock knock). Yeah, hi, I'm Dave, I'm the guy on the phone with you about your mustang....." [img]<<GRAEMLIN_URL>>/biggthumpup.gif[/img]
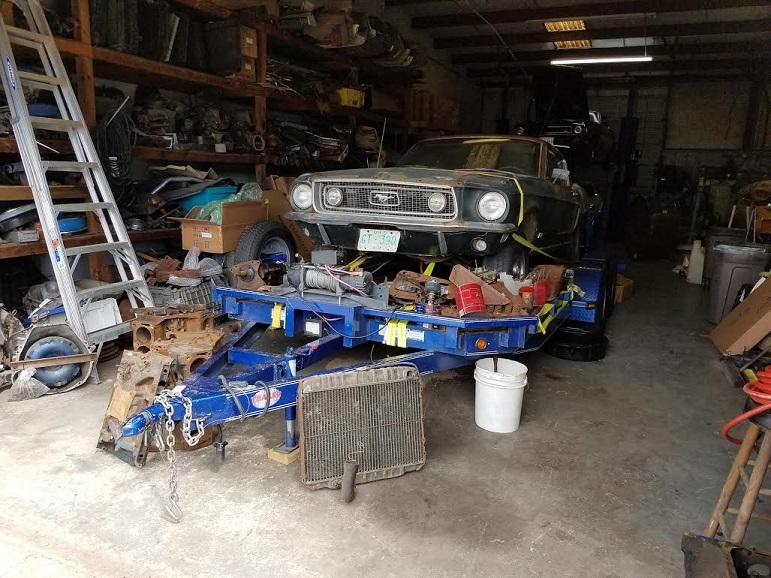
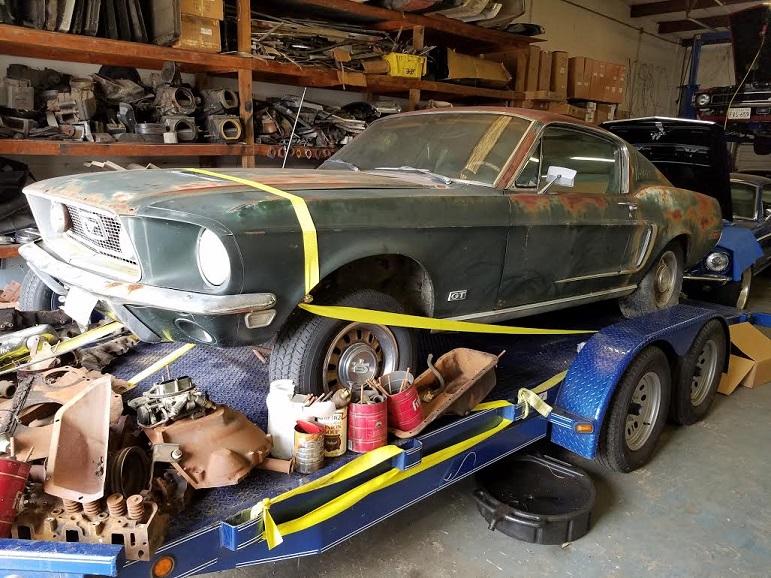
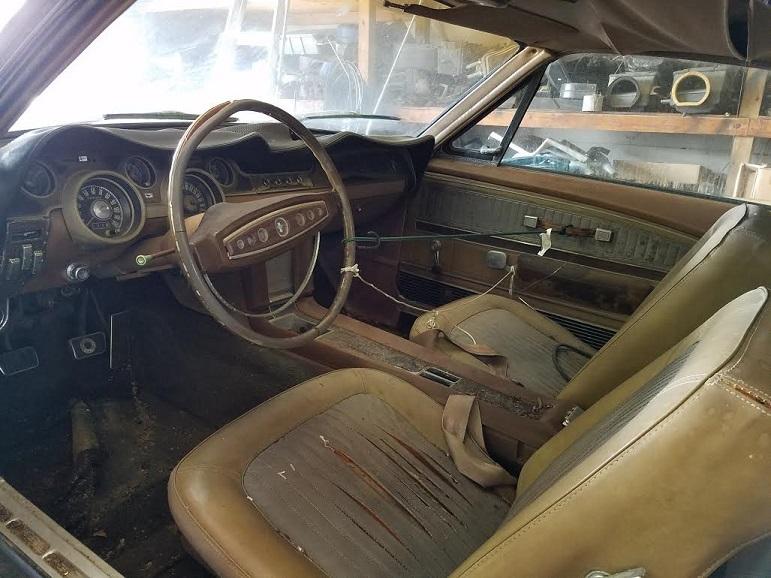
Stats: S-Code 390, 4spd, Highland Green, Deluxe Saddle interior, upper/lower consoles, 8000 RPM tach, convenience group ( those 4 buzzer lights above the radio), fold down rear seat, AM 8-Track, Reflective Group, 3.25 rear, all original manuals including the 8-track player manual, warranty card with original owner info, original window sticker.
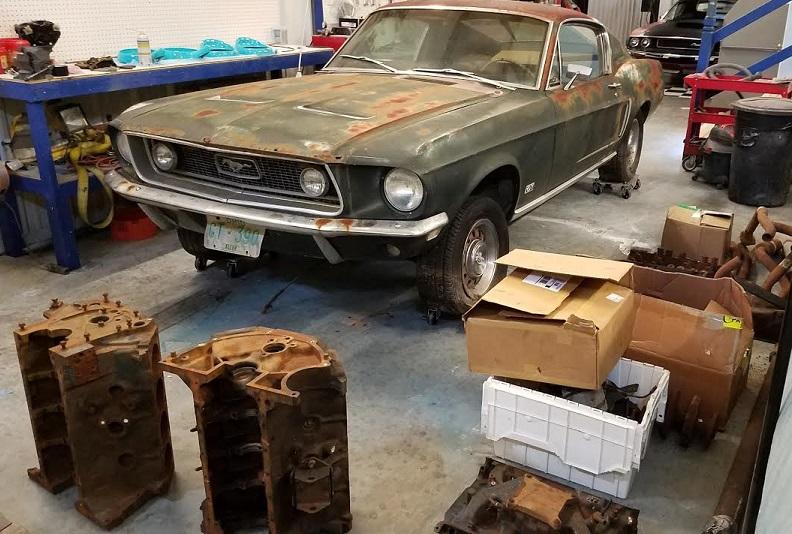
And the next day it's in my shop! [img]<<GRAEMLIN_URL>>/headbang.gif[/img] I'm freaking excited! I have a few pics of the car from the 80s when it was in Ohio too that I'll post up later!
Cheers [img]<<GRAEMLIN_URL>>/beers.gif[/img]
Dave


 09-13-2016, 11:53 PM


 Threaded Mode