
Dedicated to the Promotion and Preservation of American Muscle Cars, Dealer built Supercars and COPO cars. |
|
|||||||
| Register | Album Gallery | Thread Gallery | FAQ | Community | Calendar | Become a Paid Member | Today's Posts | Search |


|
|
Thread Tools | Display Modes |
|
#1
 01-31-2021, 06:09 PM
|
||||
|
||||
|
Five important questions being weighed as I once again consider the installation of a true Day 2 vintage shifter. I would really like to see some accurate responses from those with first-hand experience installing and cutting into the floor of a first-gen car and from those who have first-hand experience using them on the street.
1.) What shifters, mounting brackets, and linkages you have had the best experience with? 2.) What shifter mounting bracket requires the least amount of cutting of the floor to mount the shifter body to the trans (high mount vs low)? 3.) Who has used the heavy-duty straight arm shift rods with Heim ends and was the shifting any better or smoother using the straight H/D rods? 4.) Reverse lockouts, which was the best to use or should I say the least pain in the arse. I'm assuming the Super Shifter design was better than the manual lockouts? 5.) If you were considering a brand new installation, what performance-based shifter would you install when not using a console and what type of mount would you use? I installed a Super Shifter in the Day 2 Nova a couple of years ago but used the old Hurst H/D shifter rods and what I think was a second-gen Camaro mounting bracket. That kept the shifter body lower down and allowed the use of the early HD rods. When I tried using the suggested Hurst Super Shifter mount, it brought the body up into the car and required me to use the straight arm rods which also meant cutting the sides of the tunnel laterally. I negated that by using the second-gen mount and got lucky in keeping it a bit more clean with a lower mounting position, but those old Hurst rods are very hard to find now. Does anyone else have a success story in the mounting application that contributed to a good experience? If so I would love to hear about your project and would really like to see some pictures with other Day 2 installations and floor mods? Thanks in advance and here is the modified install that went into my old Nova.Yes...it got a pistol grip handle. 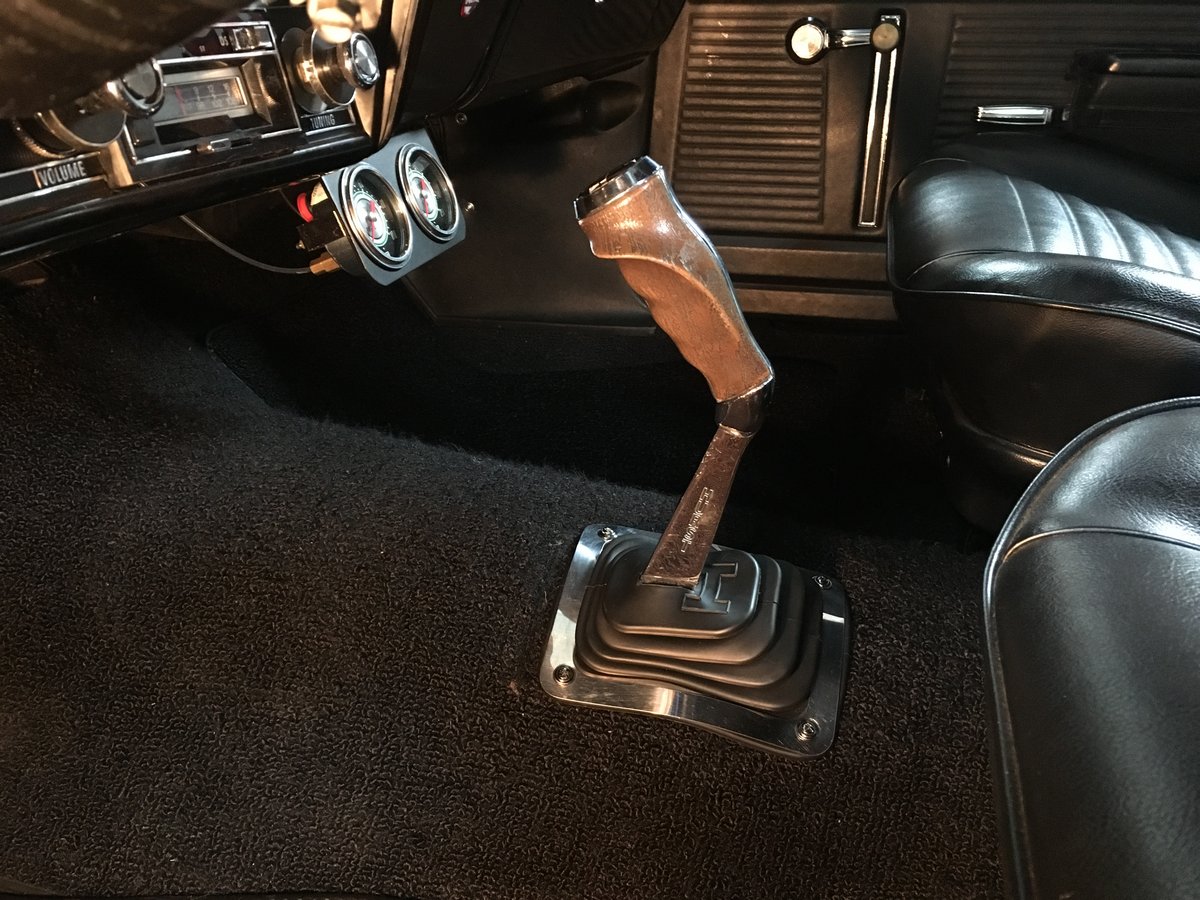
__________________
I like solid lifter cars, big cams and cars w/ 3 pedals in them. 

|
| The Following User Says Thank You to NorCam For This Useful Post: | ||
jerry455 (01-31-2021) | ||
|
|


 Threaded Mode