
Dedicated to the Promotion and Preservation of American Muscle Cars, Dealer built Supercars and COPO cars. |
|
|||||||
| Register | Album Gallery | Thread Gallery | FAQ | Members List | Calendar | Become a Paid Member | Search | Today's Posts | Mark Forums Read |

|
|
|
Thread Tools | Display Modes |
|
|
|
#1
|
||||
|
||||
|
It deserves a repaint. It is 30 year old enamel and has contaminants from the original application (tiny bumps from water in the air lines), chips, scratches and the entire lower 8 inches of the car including front and rear valances are coated in that darn gravel guard crap that everyone loved to apply back in the 1980s.
I also need to fix a couple cracks in the fiberglass hood near the scoops from incorrect hood closing procedures. These hoods should never be slammed down in the center. They should be gently prssed closed with two hands, one on each scoop. If not done this way, you get a crack alongside each scoop on the centerline of the hood. This hood has those cracks. |
|
#2
|
||||
|
||||
|
|
|
#3
|
||||
|
||||
|
Maybe one more body shop class will do it.......
Great job, very inspiring to try some resto/repair items myself. Ryan
__________________
 1969 Beaumont 350 Auto White Sold 1969 Beaumont 307 Auto Green Sold 1969 Chevelle SS 396-L35 Auto Blue Sold 1969 Oldsmobile Cutlass 'S' Sports Coupe W31 |
|
#4
|
||||
|
||||
|
Great work Steve! [img]<<GRAEMLIN_URL>>/biggthumpup.gif[/img]
__________________
Sam...  
|
|
#5
|
||||
|
||||
|
Some more tinkering on the NOS Formula hood today.
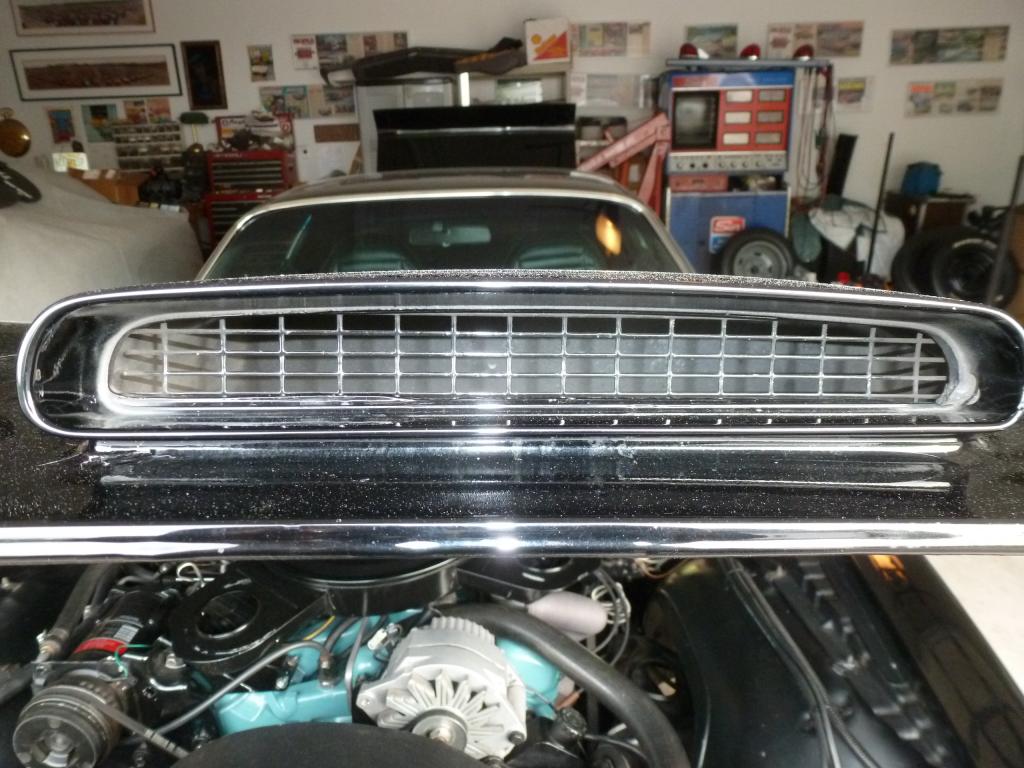
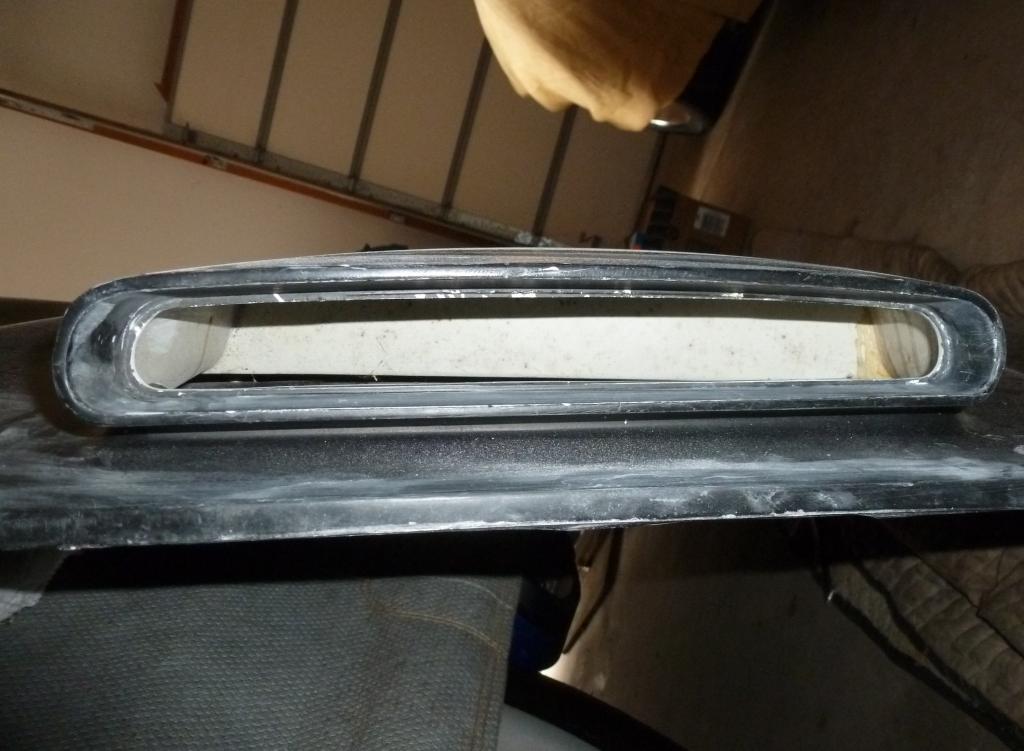
I used a Dremel tool and a file wrapped in sandpaper to reproduce the factory cut outs in the scoops. I formed the rounded edges on both ends by using a Chevy fuel pump push rod wrapped in sandpaper. It was a perfect fit for doing the curved edge areas. It was very difficult to keep the same 1/8" inner edge as the original. The reason is that there are molded-in decorative grates in the scoop area that you have to transect. Some of the edges of the grates remain and some have to go, to maintain a consistent permimeter on the curved inner surface. Here is the original Ram Air hood cut outs. The metal grates slide into a slot from the underside of the hood and are held in place by two screws.  And here is my version on the NOS hood:  |
|
#6
|
||||
|
||||
|
I finished the other fiberglass repair work on the missing corners by the windshield and the chipped front corners. I also spent a while grinding and fiberglassing the three cracked defroster ribs. I used a Dremel tool to make a deep groove, 9/10ths of the way through cracked area and then used the fiberglass gel repair to fill the trough I made. It worked out nicely. I even trial fitted the press-on stainless steel edge molding. (That was rather nerve wracking as you have to tap it in place with a rubber mallet to seat it fully).
    
|
|
#7
|
||||
|
||||
|
With the help of the wife and daughter I swapped the NOS hood onto the car (that was entertaining to say the least). I then set the hood in the right spot and readjusted all the gaps on the fenders. I noticed that I had both peaks on the hood at too high of an angle so I had to add another 3/8" of an inch of the fiberglass gel to the underside of the tips and then sanded away the top sides until they matched the contours of the fenders, exactly. I then recruited the wife and daughter to once again to pull the hood off so I could do the finish work on the added material on the bottom side. After getting the hood off, they promptly went shopping.
That gave me time finish up the underside and also trial fit the screens into the scoop openings and drill the two mounting screw holes. There are actually built-in bosses that the screws go in to on the inside of the scoop area. There was also a bunch of excess bonding adhesive from the original manufacturing process that had to be ground away so the grills would slide into the factory slots. Dremel time once again. Once the "hood crew" returned from their shopping spree they assisted in installing the hood back on the car. Here is the finished product before I drop the hood off at the local bodyshop to get it prepped and painted black.    And this is the best part: the hood is dead flat with no bow in the center like all the other 40+ year old hoods out there. Right now I have the original hood sitting on four drums spanned by 2x4s with 30 lbs of weight in the middle to try to flatten the old hood back into shape. We will see what happens.  
|
|
#8
|
|||
|
|||
|
Steve,
It looks great! Have you considered doing the paint yourself? You have done the tedious work already, why no take the victory lap? Jason |
|
#9
|
||||
|
||||
|
As always, I really enjoy your work Steve. How bout a Corvette next? [img]<<GRAEMLIN_URL>>/beers.gif[/img]
Tim |
|
#10
|
||||
|
||||
|
<div class="ubbcode-block"><div class="ubbcode-header">Originally Posted By: SuperNovaSS</div><div class="ubbcode-body">Steve,
It looks great! Have you considered doing the paint yourself? You have done the tedious work already, why no take the victory lap? Jason </div></div> The votech classes ended last week so I need to actually have a professional do it. (I am having the shop where my votech instructor works, do it.) |
 |
| Thread Tools | |
| Display Modes | |
|
|